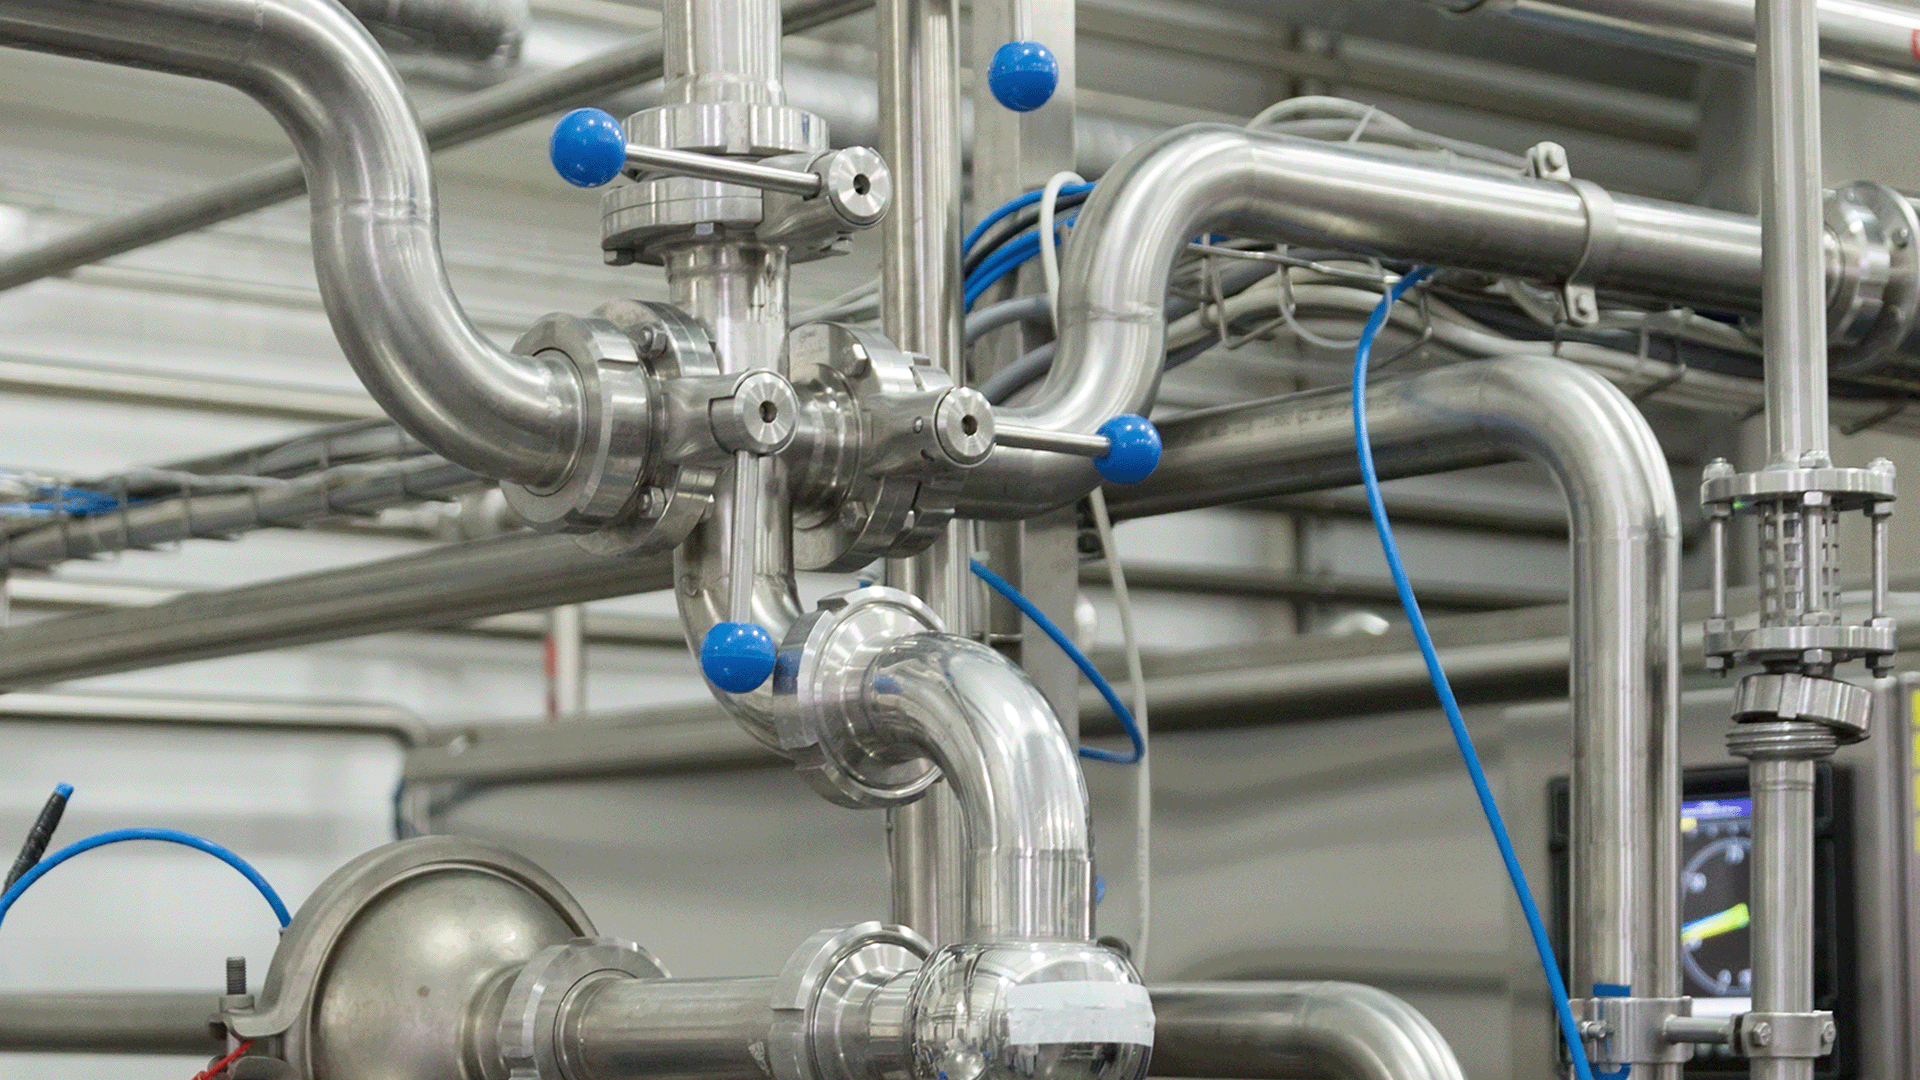
In every hygienic processing facility sanitary valves act as gatekeepers of product integrity. Ball valves, butterfly valves, and check valves each play a distinct role, yet the warning signs that signal “replace me soon” follow a common theme: compromised hygiene, reduced performance, and mounting maintenance costs. Use the checklist below to pinpoint when a valve has reached the end of its service life and learn how timely replacement protects uptime, safety, and your bottom line.
1. Persistent Leaks and Drips
- What to look for: Product weeping at body joints, stem seals, or around clamp gaskets; CIP/SIP solution leaking past the closed disc or ball.
- Why it matters: Even micro‑leaks create microbial harbors and force pumps to work harder to maintain line pressure, raising energy costs and contamination risk.
- Immediate action: Verify torque settings and gasket integrity. If tightening or re‑gasketing doesn’t cure the leak, the seat or stem seals have likely deformed—schedule a replacement.
2. Hard‑to‑Operate Handles or Actuators
- What to look for: Increasing torque to open/close a ball or butterfly valve, sluggish pneumatic actuators, or check valves that no longer swing or lift freely.
- Why it matters: Binding indicates seal swelling, mineral scale, or galling of stainless surfaces. Extra force accelerates wear on drive components and risks sudden failure during production.
- Immediate action: Lubricate O-rings and gaskets where applicable and flush mineral deposits. If torque doesn’t return to spec, replace the valve before mechanical stress propagates to adjacent piping.
3. Irregular Flow or Pressure Drop
- What to look for: Unexpected spikes in pressure across the valve, flowmeter readings drifting outside validated ranges, or cavitation noise in high‑velocity streams.
- Why it matters: Seat erosion, disc pitting, or internal crevice formation can disturb laminar flow, compromising batching accuracy and heat‑transfer efficiency.
- Immediate action: Bore‑scope inspection reveals internal damage quickly. Significant pitting or deep scratches are irreversible—replace to restore sanitary smoothness (Ra ≤ 32 µin).
4. Visual Signs of Corrosion or Product Buildup
- What to look for: Tea‑staining on exterior welds, rust blooms near bolts, polymerized product films on wetted surfaces, or discoloration at the seat interface.
- Why it matters: Corrosion undermines the passive chromium oxide layer of 304/316 SS, inviting bacterial colonies and SIP failures. Product films hide microcracks in elastomers that can shed particles into the process stream.
- Immediate action: Minor exterior staining can be passivated; internal corrosion or elastomer cracking calls for a full valve replacement to safeguard product purity.
5. Frequent Re‑Tightening or Gasket Changes
- What to look for: Clamp bolts that creep loose after every thermal cycle, repeated replacement of PTFE or EPDM seats, or a maintenance log crowded with valve‑related work orders.
- Why it matters: Chronic intervention drains labor budgets and signals that the valve’s dimensional tolerances have relaxed beyond hygienic spec.
- Immediate action: Compare maintenance cost versus a new unit. In many cases, installing a modern, drop‑in sanitary valve delivers a 6‑ to 12‑month ROI through reduced downtime alone.
6. Compliance or Audit Findings
- What to look for: 3-A or ISO 9001 auditors flagging deep scratches, non‑conforming elastomer materials, or obsolete documentation.
- Why it matters: A single citation can halt production or trigger costly recalls. Replacing suspect valves pre‑audit keeps certifications intact and customer confidence high.
- Immediate action: Maintain a rolling replacement plan tied to audit cycles. Document every new valve’s material certs and lot numbers for rapid traceability.
Pro‑Tip: Don’t Forget the Check Valves
Because check valves lack an external handle, deterioration often goes unnoticed until a reverse‑flow event contaminates upstream equipment. Add quarterly crack‑pressure verification to your PM schedule and replace any unit that fails to reseat instantly.
Building a Predictive Replacement Schedule
- Baseline Inspection: Record torque, pressure drop, and visual condition of every valve at installation.
- Trend Analysis: Compare quarterly readings—any trend over 10 % deviation warrants closer scrutiny.
- Criticality Ranking: Prioritize high‑temperature, high‑acidity, or allergen lines where valve failure carries higher risk.
- Standardize SKUs: Choosing consistent seat materials and clamp sizes across lines streamlines inventory and speeds change‑outs.
Recognizing early indicators of valve fatigue protects both product integrity and operational efficiency. By integrating routine inspections with a proactive replacement strategy, facilities can slash unplanned downtime and stay ahead of regulatory scrutiny. When the data tell you it’s time to retire a valve, make the change before your process—or your customers—notice a problem.
Need help selecting drop‑in replacements or upgrading to an actuated solution? Explore our full range of sanitary ball, butterfly, and check valves.

